Hi everyone, and happy new year! I just wanted to let you know that I’m now blogging over at stewartfiberarts.com, to align with my business name and Etsy store. Come join me!
Author Archives: Angelique
Slightly inappropriate dishtowel
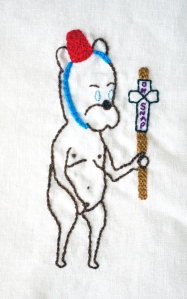
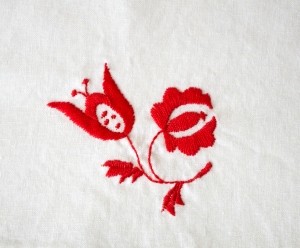
I made a couple dishtowels, but now I’m afraid to use them because I might mess them up 🙂 Sigh. I used white Robert Kaufman Essex Linen, which was wonderful to work with. I cut them 17”x25”, turned up the edges a couple times (ironing each time, of course), mitered the corners, and topstitched. The second one turned out much better than the first one – I have to remember to keep my edges pretty small. Anything more than about a quarter inch starts to look funky. I’m working on another set — I’ll show the corners on those in a later post. I forgot to take photos of the whole towels for these…
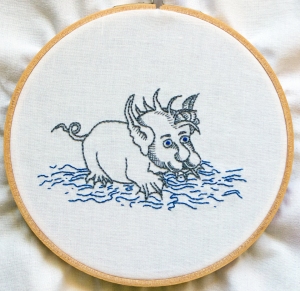
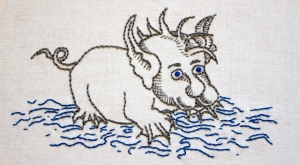
The first one I made is Teodor from the comic strip Achewood. (Sorry about the funky shadows in the photo.) The creator of Achewood tweeted this drawing, and it was so awesome I had to embroider it. It’s just backstitch and stem stitch, and I love it.
The second design is from Scandinavian Stitchcraft by Karin Holmberg. The book is really well done and has a lot of lovely embroidery designs and projects. It’s great inspiration.
Speaking of inspiration, this is amazing, via Art is a Way blog…
New PJs!
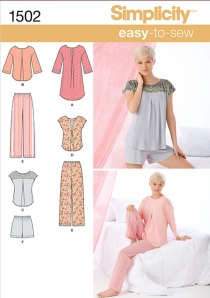
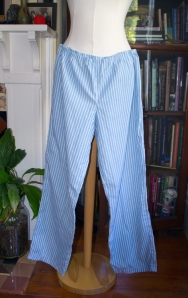
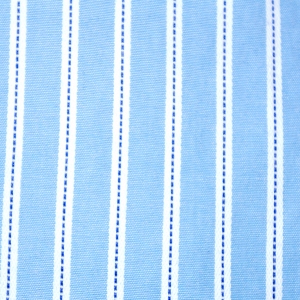
I started the new year with an easy project. My favorite pajama pants ripped and weren’t fixable, so I made a new pair. I picked up some soft cotton shirting on sale from Jo-Ann and the newly released pattern Simplicity 1502. I made view E, but I’ll probably try the top in the future — it looks super comfy.
The last time I tried PJs, I forgot to check the finished garment measurements and they ended up being GIGANTIC. I could’ve fit two of me in them. The waistband was too wide and really bunchy and gross. It was kind of sad and embarrassing. So this time I checked the finished measurements before starting (duh) and made a size smaller than the recommended size so there wouldn’t be too much ease. And the waistband is nice and narrow and not gross looking 🙂
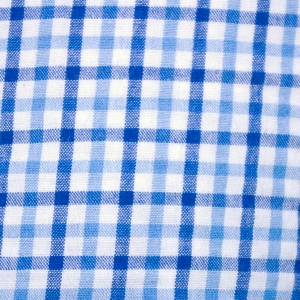
I got these done in less than an hour and a half – sewed and serged the seams, wasitband, and bottoms of the legs, then just turned down the waistband elastic casing and the hems and topstitched. Threaded the elastic through and topstitched the little opening, and I was done. Super easy, and they turned out cute enough that I decided I needed another pair. I went back to Jo-Ann and got a soft plaid cotton shirting (still on sale!) and did another pair the next day.
On a separate note, did you see this NYT article about the US textile industry? It’s really interesting – definitely worth the read.
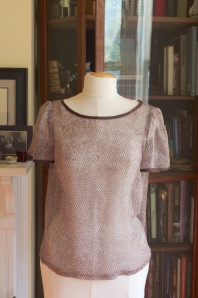
Brown silk chiffon blouse, Simplicity 1693
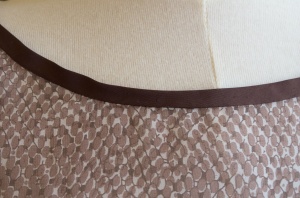
I still haven’t worn this top yet… It’s brown silk chiffon in a sort of snake print (?), I guess. I got the silk from Thai Silks in Los Altos — my favorite silk source. I need to see patterns in person. I can never get a good sense of scale online, and I’ve ended up buying some really funky fabric over the years that has HUGE patterns when I thought it would be a fairly small pattern (and actually, you know, WEARABLE).
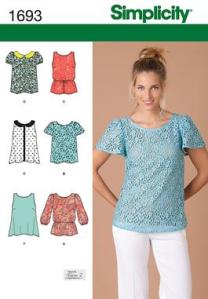
I used Simplicity 1693, view B, which is a TNT (tried ‘n’ true) pattern for me. It has cute fluttery sleeves and fits nicely — not boxy at all. I used French seams since the fabric is sheer, and did the neck and sleeve binding and the hem by hand. I made the binding from brown silk shantung that I had in my stash.
Does this count as snake print? I can’t decide. It’s not quite, but I don’t know how else to describe it… Anyway, cute top, turned out nicely, made a couple months ago when it was still warm, and yet I still haven’t worn it. I have no idea why. Now I’ll have to wait till spring, unless I get creative with layers…
Peacock Kindle case
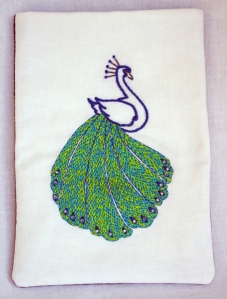
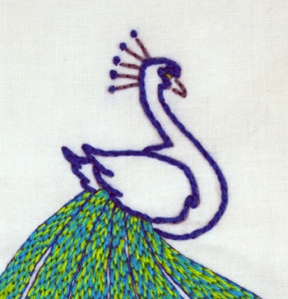
This is a really simple Kindle slipcover I made. I drew the peacock based on a Henna design and embroidered it using mostly backstitches. It’s pretty basic — just the front and back pieces, lining, and a layer of batting to give it some solidity. The top is open and you slip the Kindle in. I thought about adding a piece of cardboard between the batting and the lining so the screen would be more protected. But I forgot. So I didn’t. I’m not really worried about it, though; I used to just throw my Kindle in my bag with no cover at all, so this is a couple steps up from that.
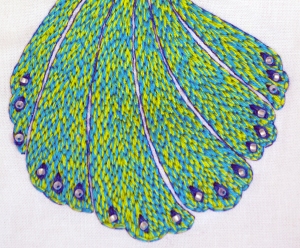
The tail is 2 strands of peacock blue floss mixed with 2 strands of light green floss for a total of 4 strands, then embroidered in backstitches in a tight brick pattern. I outlined each feather section in one strand of the same dark blue thread as the bird’s body. The tail looked a little dark once I finished, so I added pearly white seed beads to the eyes of the feathers.
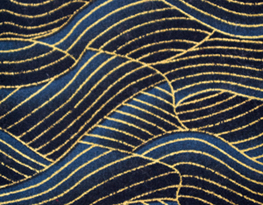
The back is some Japanese quilting cotton that I’ve had in my stash for a few years. It’s hard to see the color in the photo, but it’s dark blue shaded to black with gold wave patterns.
I think I should have used just 2 strands of floss for the peacock itself — it looks a little heavy, I think. The eye is the light green, but you can’t see it very well because of the thicker thread around it. Overall, I’m really happy with it, though.
New tote bags
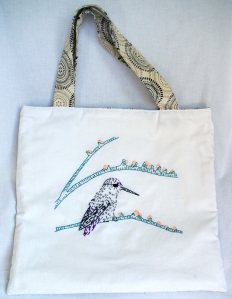
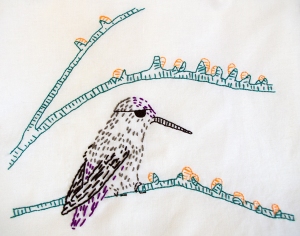
I made a couple tote bags. White tote bags. White is not a practical color for me, but I love how stitching looks on a plain white background. I guess I need to start looking into stain removal for things you don’t want to throw in the washer all the time… I used this bag once to carry fabric I bought at a quilt show up in Roseville last weekend, and it’s already dirty. Definitely need some kind of cleaning wipe thingys. It’s medium-sized, I guess, at about 14″x14″. The pattern is from Studio MME and was used in the Feeling Stitchy Midsummer Stitchalong. It features a kingfisher with an eye patch. His name is Reginald, and he has a backstory if you want to go check him out 🙂 I was nowhere near done in time for the stitchalong — in fact, I think I started it after the SAL was already over.
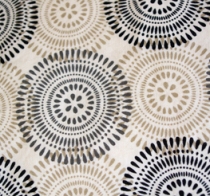
I basically made up the process to make the bags. No pattern or even a well-thought-out process — I just winged it. I used a cool neutral palette quilting cotton from Joanne’s for the back, straps and lining.
There are a couple pockets on the inside, which I don’t have pictures of because it’s not really possible to take a good photo of the inside of a finished bag 🙂 I wasn’t sure how well it would turn out since I was making it up as I went along, so I didn’t do in-process shots. Plus, once I get started sewing the last thing I want to do is take a photo break.
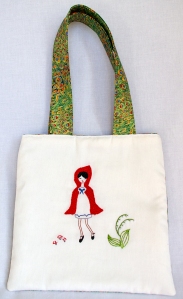
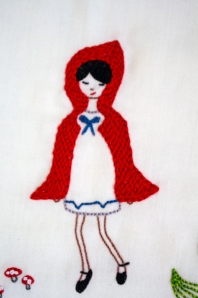
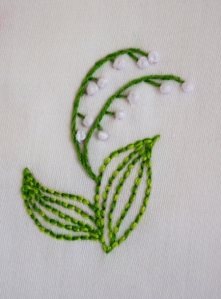
Bag #2 is pretty small at just under 9″x9″, but it’s perfect to carry my Kindle and a sketchbook. I used a couple patterns from Aneela Hoey’s “Little Stitches” book. I learned to embroider when I was really little, and all I knew was backstitch, satin stitch, and a few other basics — there weren’t a lot of filling options. I love the patterns in “Little Stitches“, but I didn’t think the filling stitches would really be “my style”. I’m surprised by how much I enjoy filling stuff in. I really like it and have done it far more than I expected. Also, I can’t explain it but I love French knots.
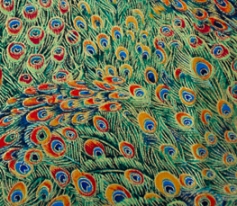
I used this lovely peacock pattern quilting cotton from fabric.com for the back, straps, and lining. There aren’t any pockets in this one — it’s too small. I did sandwich a layer of batting in each tote bag to add a little weight so they wouldn’t be so flimsy.
I’ll probably end up making at least one more — a really large one would be fun (and practical-ish), and it might be good to do it the “right” way and actually follow some directions 🙂
Sea monster!
I drew this little guy based on a sea monster on a 17th century map — he’s described as a “Marine Pig-Dog”. Once I got the drawing right, I transferred it from paper onto cotton using a Pilot Frixion pen. Have you seen these? They’re awesome — the lines disappear when you iron or just steam the fabric. I then embroidered him using basic back stitches and French knots for the eyes.
I’m really happy with how he turned out! I feel like he needs a real name, though. Is he a Karl? George? Maybe he’s a Zeke…
Silk chiffon skulls tank, Simplicity 1693
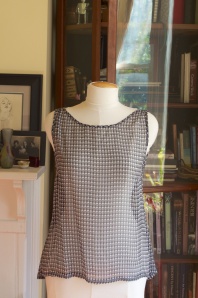
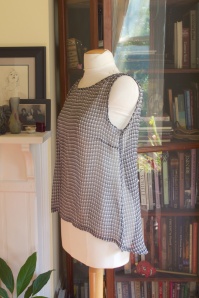
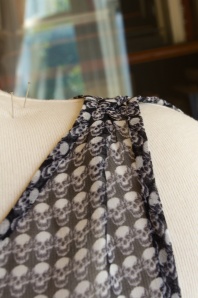
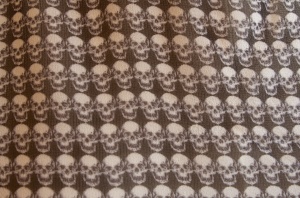
I love this fabric — sheer silk chiffon with little smiling skulls, bought at Thai Silks in Los Altos, CA. I used it for Simplicity 1693, view F, which is a simple tank with a high-low hem.
I made bias binding out of the same fabric, and finished the bias and the hem by hand. Since it’s sheer, I used French seams. The shoulder straps were a little wide when I tried it on, so I added a little vertical pleat to make them narrower. I like the way it looks, so I’ll probably do that next time I use this pattern, too. If I don’t do the pleat, I’ll have to take about half an inch out of the center so it doesn’t sit so far out on my shoulders and gape at the neckline.
I thought people at work would give me crap about the skulls, but no one said a word. One person kind of frowned at it, though… I think I might be able to wear it on milder days this winter under a jacket. Not sure — work has been freezing lately, so I need about 3 layers. Maybe if I add a scarf?
Embroidered Pincushions
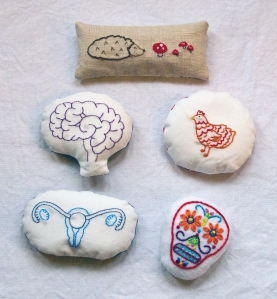
I need pattern weights. I’ve been using some old, rusting paint tins as weights, and they’re really just not cute. My original plan was to make some really quick weights filled with beans or something, but then I saw (and bought) the book “Super Cute Pincushions” at the bookstore. Pincushions are way more useful than tiny bean bags. I have a few small embroideries completed, so I stitched some pincushions up using quilting scraps for the back. These are all filled with fine sand, so they have some heft for keeping patterns in place, but I’ll get a lot more use out of them as pincushions — and my pins will stay nice and sharp.
- The hedgehog and chicken are embroidered from Aneela Hoey patterns from her book “Little Stitches“.
- The brain and uterus are Jenny Hart patterns downloaded from sublimestitching.com.
- The Day of the Dead skull is from Kate Haxell’s book “Super-Cute Pincushions”.
I haven’t made such small circular things before. I definitely need to work on my curves. My uterus is especially wonky… Well, not MY uterus — I’m sure that’s fine. I also found out that I hate embroidering on felt. HATE. It feels gushy and weird. The only one on felt is the skull — the others are regular fabric, which works just fine. No more felt.
I’ll be making more of these — “Super-Cute Pincushions” has a ton of great patterns I still need to embroider 🙂

